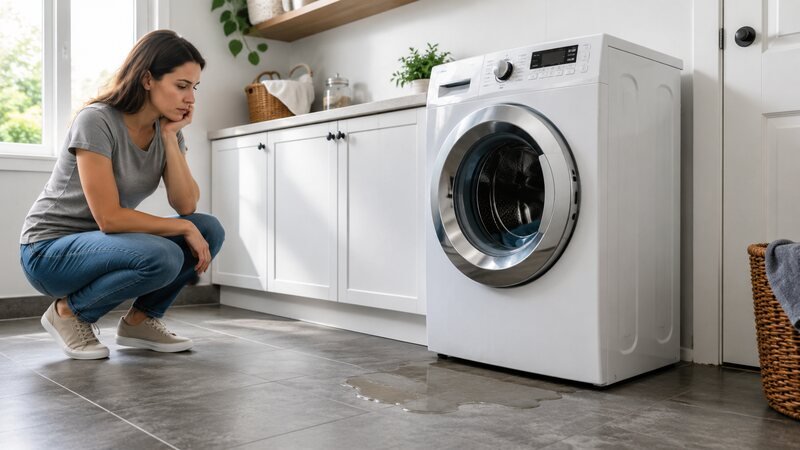
A washing machine leaking water needs prompt attention, even if the puddle looks small. The source may be a loose hose, overloaded tub, excess suds, dirty door seal, pump filter, household drain, or an internal component. Finding when and where the leak appears is more useful than guessing at a part.
Safety first: Stop the cycle. If water is near the plug, outlet, or electrical panel, do not touch the washer or stand in the water. Turn off the breaker from a dry location. Otherwise, unplug the machine and close both hot and cold supply valves before inspection.
First, identify the location and timing
- Back of the washer: supply hoses, drain hose, or wall connections.
- Front of a front-loader: door glass, gasket, dispenser, or excess suds.
- Underneath: pump filter, internal hose, pump, tub, or water traveling from another point.
- Only while filling: inlet hose, valve connection, dispenser, or high water pressure.
- Only while draining or spinning: drain hose, standpipe backup, pump area, or load-related splashing.
Dry the floor and exterior, then observe from a safe distance during a short test only after visible connections are secure. Never operate a washer with panels removed.
Common causes of washer leaks
1. Loose, damaged, or incorrectly installed fill hoses
Check both ends of the hot and cold hoses. Connections should include intact hose washers and be secure without overtightening. Replace hoses with cracks, bulges, corrosion, or damaged fittings. If the wall valve itself leaks or will not close, call a plumber.
2. A loose or damaged drain hose
A drain hose can leak at the washer connection, split along its length, or jump out of a standpipe if not secured as directed. Do not seal the hose airtight into the standpipe. Use the manufacturer’s U-shaped guide or restraint and follow the required insertion depth and height.
3. The household standpipe or sink is backing up
If water rises from the wall drain or utility sink as the washer pumps out, stop the cycle. The restriction is in the home’s drainage path, not necessarily the washer. Continued use can flood the room; contact a plumber.
4. A dirty or damaged front-load door gasket
Hair, lint, coins, and small clothing items can prevent the glass from sealing against the rubber gasket. With the washer unplugged, wipe the glass and gasket with a damp cloth and inspect the folds. Do not use sharp tools. A tear, deformation, or loose retaining band normally requires model-specific replacement.
5. Too much or incorrect detergent
Excess foam can escape from the dispenser or door area and may look like a component leak. Use HE detergent in an HE washer and follow both the appliance and detergent dosing guidance, adjusting for load size and water conditions. Never use regular dish soap.
6. An overloaded or unbalanced load
Overloading can deflect water, prevent proper sealing, or make the tub move excessively. Remove items and test with a modest, balanced load. For a washer that also fails to reach spin speed, see our washer not spinning troubleshooting guide.
7. A pump filter cap is loose or its seal is dirty
On models with a user-accessible pump filter, a cap that is cross-threaded, not fully tightened, or obstructed by debris may leak. Unplug the washer, drain it safely, and reinstall the filter according to the manual. Do not force the cap or open a non-user-serviceable panel.
8. An internal hose, pump, inlet valve, or tub is leaking
Water emerging from the cabinet after external causes are ruled out may involve an internal component. Do not remove panels and run the machine to hunt for the leak; that exposes moving parts and line voltage. A technician should perform a controlled diagnosis.
Safe step-by-step checks
- Stop the cycle, protect the floor, and isolate power safely.
- Close both supply valves.
- Dry visible surfaces and note the leak location.
- Inspect accessible fill hoses, drain hose, wall valves, and standpipe.
- Clean the front-load door glass and gasket; check for trapped items or tears.
- Confirm correct detergent type, dose, load size, and machine level.
- If the manual permits, check and reseat the pump filter.
- After corrections, run a small supervised test with all panels installed and stop immediately if water reappears.
When to stop DIY and call for help
Call a plumber for a leaking shutoff valve or backing-up household drain. Call an appliance technician when the leak comes from inside the cabinet, the door gasket is torn, a hose connection at the machine is inaccessible, the washer has electrical damage, or the leak continues after basic checks. If the washer also retains water, use our washer not draining guide only after the active leak is controlled.
Frequently asked questions
Why does my washer leak only during the spin cycle?
Higher tub movement and faster pump-out can reveal an unbalanced load, drain hose problem, standpipe backup, or internal pump or seal leak. Stop using the machine if water comes from underneath.
Can overloading make a washer leak?
Yes. An overloaded or unbalanced load can interfere with normal water movement and place extra stress on the suspension and seals. Follow the model’s load guidance.
How tight should washer hoses be?
They should be connected with intact washers and tightened according to the installation instructions. Overtightening can damage threads or seals, so do not use excessive force.
Can I use the washer after a small leak stops?
Only after the source is identified and corrected, the area is dry, and electrical components were not exposed. Supervise a small test. If the source is unknown or the leak returns, stop and arrange service.